Installation Rules and Flow of ASA Synthetic Resin Tile
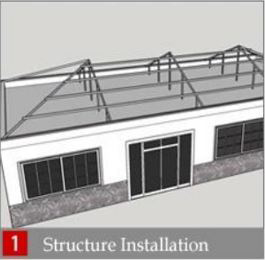
Purlines can be square pipe ( 60mm x 40mm x 3mm) or C-shaped steel (100mm x 50mm x 20mm x 3mm) or corrosive resistant wooden beam (60mm x 40mm). The Purlin spacing is 660mm, arranged from bottom to top.
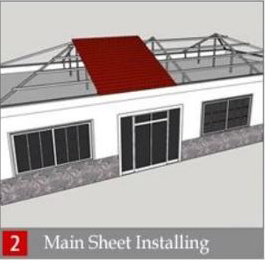
Main Tile should be installed according to local wind direction, to be opposite to wind direction. Lap with a tile wave, with both sides done at the same time.
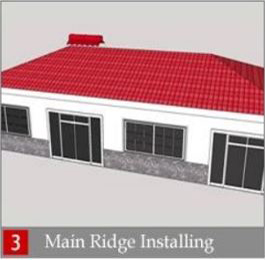
When installing Main ridge tiles, please cut out a section of the first tile before installing.
The lap joints of the main ridge tiles and the slope ridge tiles should be neatened.
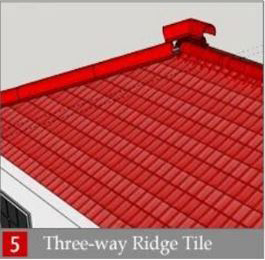
Install the Tee joint tile after completion of installation of the main ridge tiles and the slope ridge tiles.
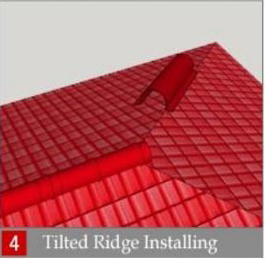
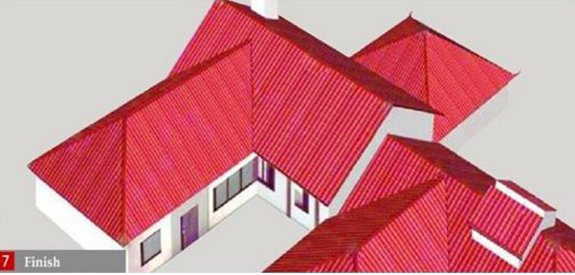
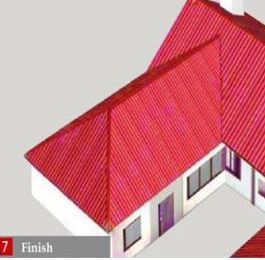
Finally fix the End cap of Side ridge to finish the process.
Please note When fixing, first use electric drill to make holes and keep the hole diameter 2mm bigger than screw. Tapping screws with diameter of 6.3mm are recommended.
INSTALLATION
GET IN TOUCH
Thank you for your interest in Rivaa Roofing and our ASA Synthetic Resin Tile Series and accessories. If you have any questions about our ASA Synthetic Resin Tile Series, product specifications, or pricing, or would like to request a quote, our sales team is ready to assist you.
We strive to provide exceptional customer support to ensure your satisfaction. If you require assistance with an existing order, or installation guidance, or have any post-purchase inquiries, our dedicated support team is available to help.